Image Panel
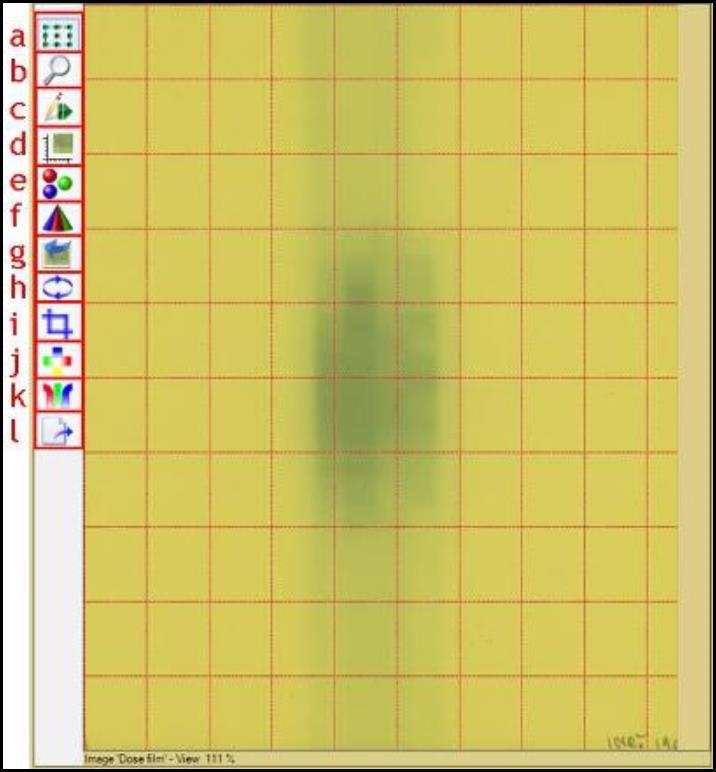
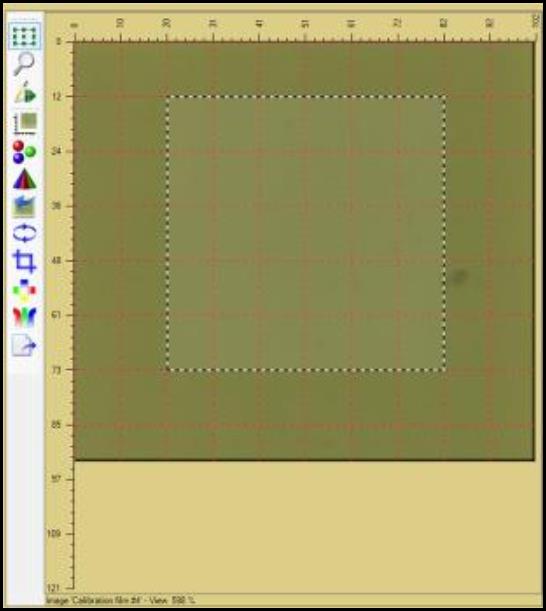
The Image Panel is located at the center of the screen. It allows you to view the active image and to select the region of interest for dose calibration and calculation.
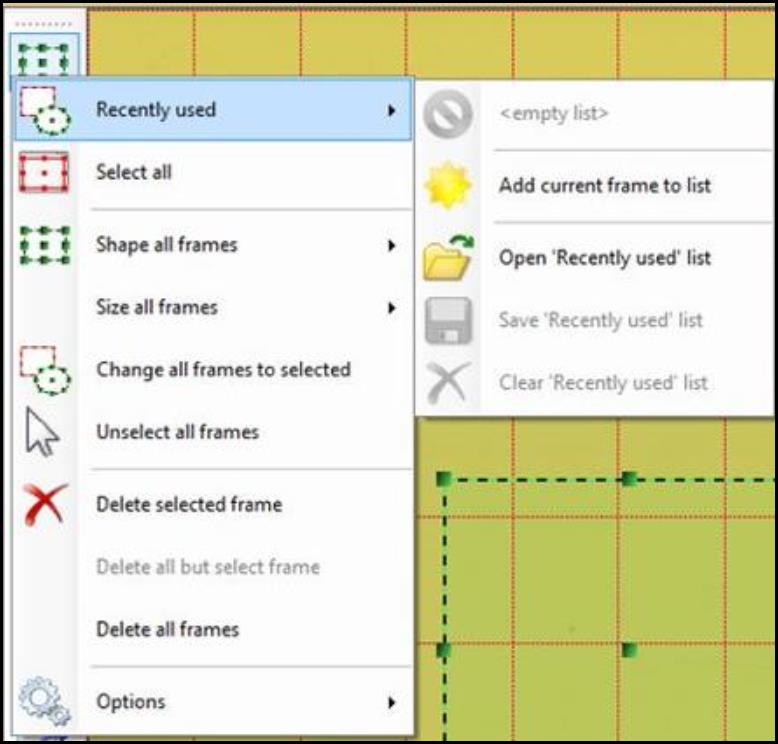
a. "Selection frame tool" allows you to select the region of interest on the image displayed. Click and drag on the image to select a region of the image. Right click on the button and select
- Recently used” to create, open, save, or clear lists of frame used previously.
- "Options" to change the frame color, the selected frame color, the frame width, the marker width, and the selector opacity.
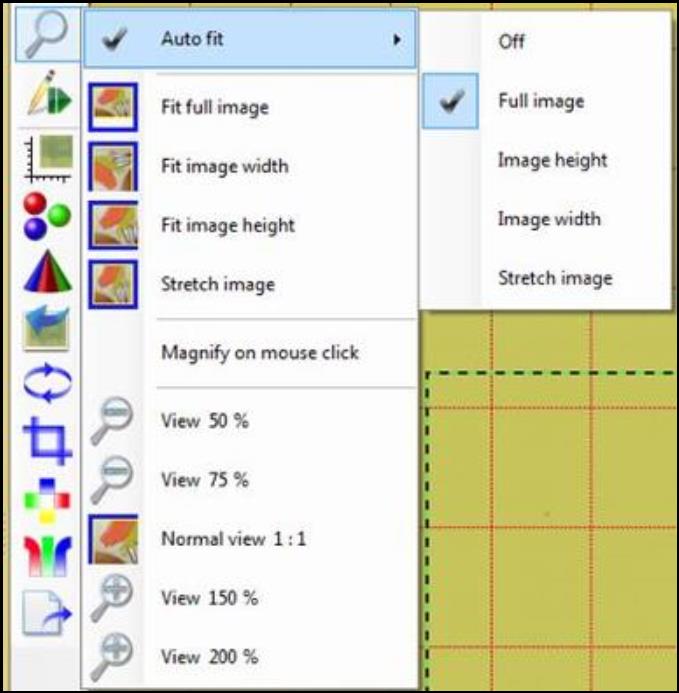
b. “Magnifier tool” allows you to zoom in and out of the image. Click on the icon and scroll up to zoom in and down to zoom out using the mouse. Click on the icon and select:
- “Auto fit” to fit the image automatically to your preference everytime when an image is displayed in the “Image Panel.”
- “Magnify on mouse click” and click on the image to enlarge the image by 50%. Shift + click to reduce the image by 33%.
c. “Pause tool” allows you to stop all the image tools selected.
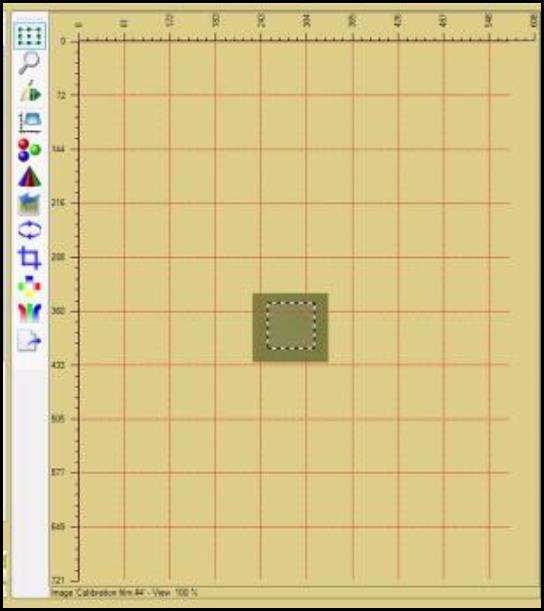
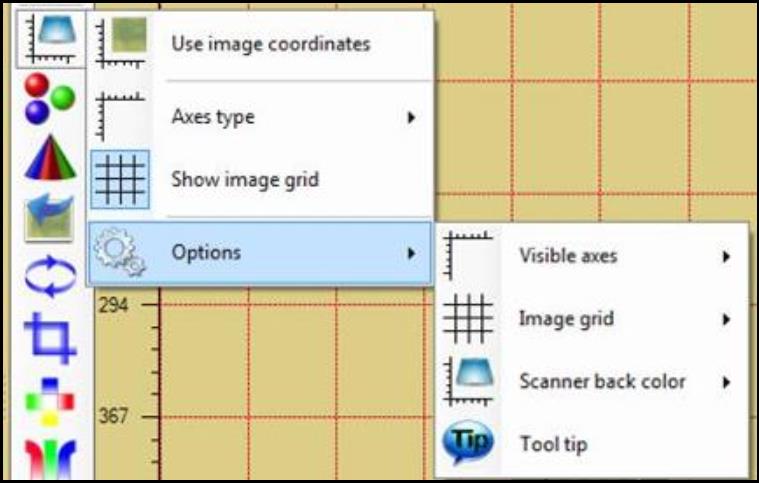
d. The “Image scaling” button allows you to select image coordinate system and axis units. Click on the button and
- Select “Use scanner coordinates” or “Use image coordinates” to change the editor coordinate system between image and scanner. This allows to compare scanner effects on images easier. As shown in the images below, the left image has the scanner coordinates turned on while the right image has the image coordinates turned on.
- Select “Options” to change the configuration of axes, image grid, and color of scanner background when scanner coordinates are used.
e. “Color channel selector” allows you to select, invert, or gray the color channels of the image viewed in the “Image Panel.” Please note that the tool does NOT change the image bitmap itself. It only changes the screen view.
f. “Color range spreader” allows you to select range of the color channels of the image viewed in the “Image Panel.” The tool changes only the screen view. It doesn’t change the image bitmap. The button appears as  when full color range is off. Click on the button to scale color channels to selected frame range. Right click on the button and select:
- “Delete color channel scaling” to change the channel scaling back to full range.
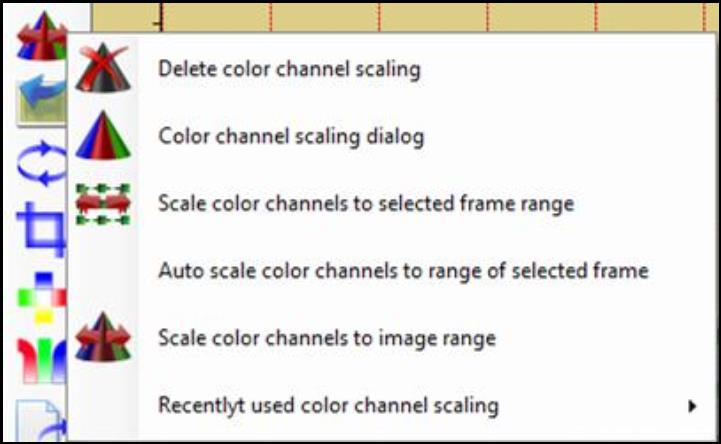
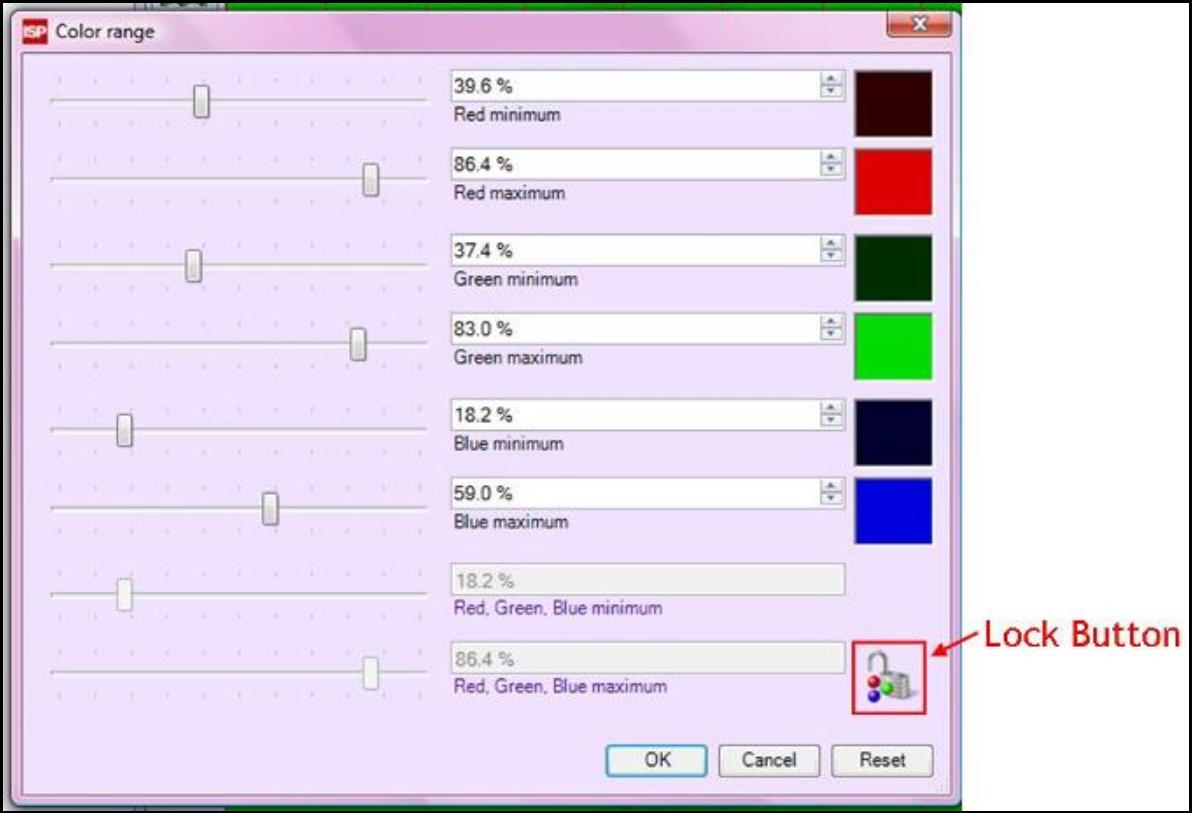
- “Color channel scaling dialog” to open the “Color range” window. The window allows you to manually enter the minimum and maximum color range. Click on the “Lock Button” to make the minimum and maximum values of all three color channels the same.
- When “Auto scale color channels to range of selected frame” is on, it sets the image color channel ranges to the ones of the selected frame in real time. Move the selected frame around to see the change of color ranges.
- “Scale color channels to image range” sets the color ranges to the ones of the image displayed.
g. “Undo, redo buffer” allows you to undo and redo the changes made to the image. To change the maximum number of undo steps, right click on the icon, select “Options” and then select “Maximum number of Undo steps.”
h. “Flip and rotation tool” allows you to flip or rotate the entire image or the region of current image selection. To flip or rotate the region of selection, right click on the icon, select “Options” and check “Rotate and flip applicable to selections.”
Please note that the scanner information will be revoked when applying a 90° rotation.
i. “Crop tool” allows you to crop image to the region of current image selection. To change the color of filling outside the cropped image, right click on the icon, select ”Options” and “Crop fill color.”
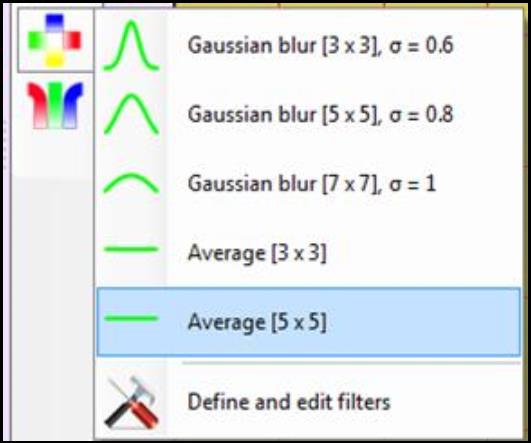
j. “Filtering tool” filters entire image or region of current image selection by allowing pixel modifications using a filter matrix to combine surrounding pixels. Click on the icon to apply filters. Select “Define and edit filters” to open the “Bitmap Filter Editor.” To apply filters to region of selection only, right click on the icon, select “Options” and check “Filter applicable to selections.”
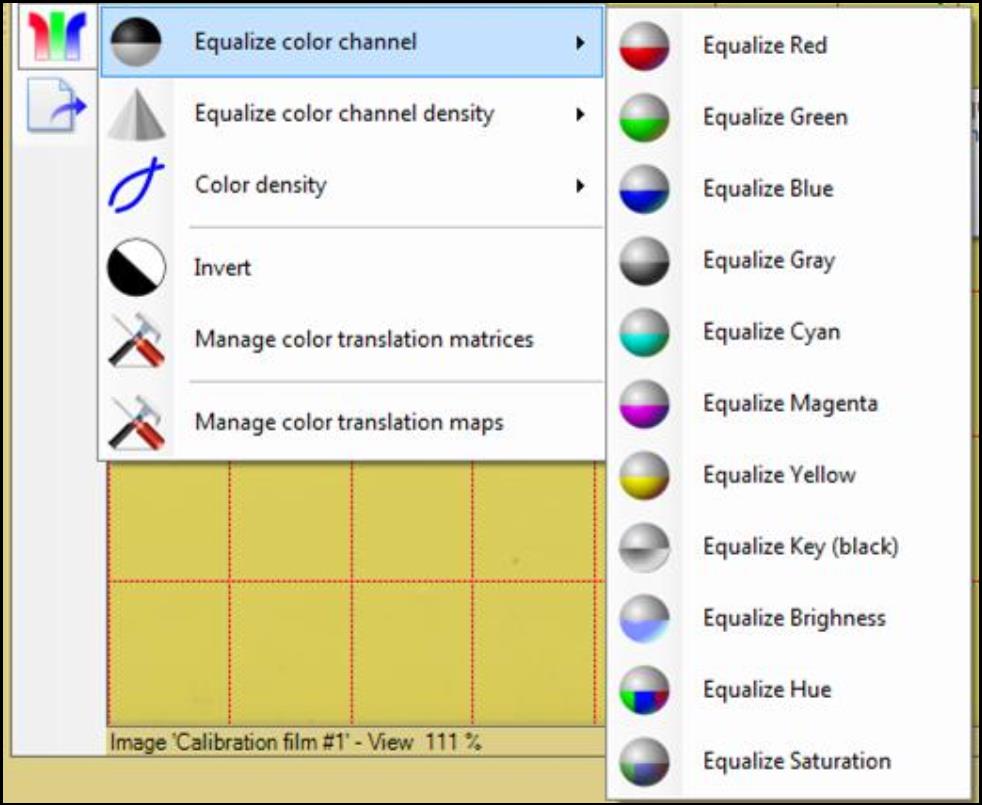
k. “Color translation tool” allows you to translate colors of entire image or region of current image selection. This tool changes the bitmap of the image. Click on the icon and
- Select “Equalize color channel” to divide all color values by normalized value of equalizing color channel. For example, when “Equalize Red” is selected, all color values are divided by normalized red value. All red values will be identical with the average red value. The new R, G, B transformed color channel, Xnew, is calculated by
Xnew = Xold*Yave/Y
where Xold = old R, G, B transformed color channel
Y = red
Yave = red average value
- Select “Equalize color channel density” to divide all color channel densities by normalized density of equalizing color channel. For example, when “Equalize Red density” is selected, all color channel densities are divided by normalized red density. All red densities will be identical with the average red density. The new R, G, B transformed color channel, Xnew, is calculated by
Xnew = Xmax^log(Xold)*ave(log(Y))/log(Y)
where Xmax = maximum color value log = logarithm to base Xmax
Xold = old R, G, B transformed color channel
Y = red
ave(log(Y)) = average value of log Red value.
- Select “Color density” and then
- “Translate to color density” to translate color to its logarithmic value. The new R, G, B transformed color channel, Xnew, is calculated by
Xnew = Xmaxlog(Xold)
- “Translate from color density” to translate color to its exponential value from color density. The new R, G, B transformed color channel, Xnew, is calculated by
Xnew = Xmax^(Xold/Xmax)
- Select “Invert” to invert color channel values for creating image negative effect.
- Select “Manage color translation matrices” to open the “Bitmap Color Translation Editor.”
- Select “Manage color translation maps” to open the “Color Translation Maps Editor.”
l. “Image exporter” allows you to export to file or clipboard the entire image, the image with color channel selected, or region of current image selection.